How to weld at home?
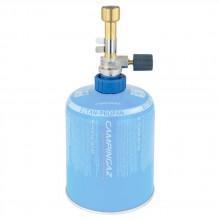
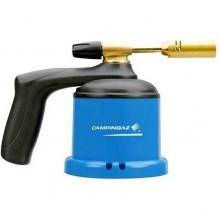
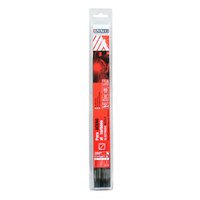
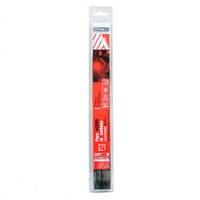
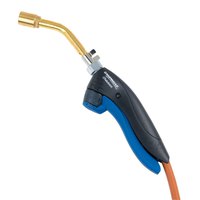
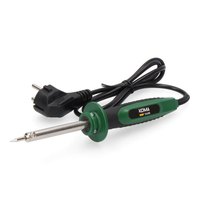
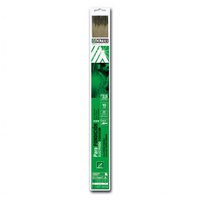
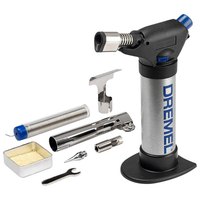
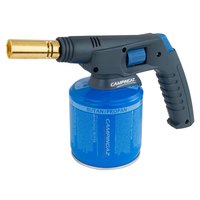
Welding at home can be a useful skill for various DIY projects or repairs. You can buy these blowtorches from these brands:
Edm,
Wolfcraft,
Ferrestock,
Ruko, and
Campingaz. Here are general steps to follow when
welding at home:
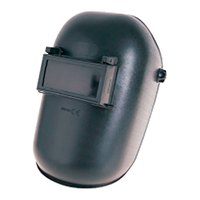
Safety precautions: Before starting any welding work, prioritize safety. Wear appropriate personal protective equipment PPE, including a welding helmet with a proper shade, welding gloves, long sleeved clothing, and closed toe shoes. Ensure you are working in a well ventilated area or use a welding respirator to protect against fumes and gases. Keep a fire extinguisher nearby and clear the work area of flammable materials.
Select the welding process: Determine the appropriate
welding process based on the materials and project requirements. Common welding processes include stick welding SMAW, MIG welding GMAW, and TIG welding GTAW. Each process has its own characteristics and is suitable for specific applications.
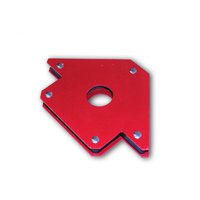
Prepare the work area: Set up a clean and organized work area. Ensure there is sufficient space to move around and position your
welding equipment. Remove any flammable or combustible materials from the vicinity. Secure the workpiece in a stable position using clamps or fixtures to ensure stability during
welding.
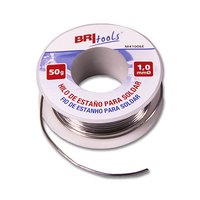
Prepare the materials: Clean the surfaces to be welded by removing dirt, rust, paint, or any other contaminants. Use a wire brush or grinder to achieve a clean surface for better weld quality. If necessary, use a suitable solvent or degreaser to remove oils or greases from the materials.
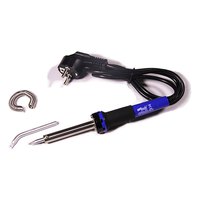
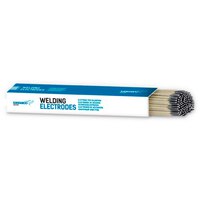
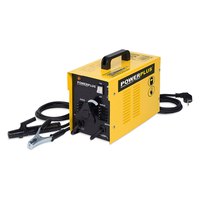
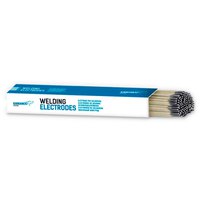
Set up and adjust the welding equipment: Follow the manufacturer´s instructions to set up your welding machine. Connect the appropriate cables and electrodes for stick welding or wire and shielding gas for MIG/TIG welding. Adjust the
welding parameters such as voltage, amperage, wire feed speed, or gas flow rate according to the material thickness and welding process being used.
Practice welding techniques: Before starting your actual welding project, it is advisable to practice
welding techniques on scrap material of similar composition and thickness. This allows you to familiarize yourself with the equipment, establish proper arc control, and adjust your technique for optimal results.
Start welding: Once you feel comfortable with the
welding equipment and techniques, begin
welding on your workpiece. Maintain a steady hand and move the welding torch or electrode in a controlled manner along the joint, following the specific technique for the chosen welding process. Maintain proper travel speed and arc length to achieve good penetration and weld bead appearance.
Post welding cleaning and inspection: After completing the welds, allow them to cool naturally. Once cooled, remove any slag in the case of stick welding and clean the welds using a wire brush or grinder. Inspect the welds for any defects, such as cracks or incomplete fusion. Perform any necessary post welding treatments, such as grinding or painting, based on your project requirements.
Remember,
welding can be a complex skill that requires practice and experience to master. It is recommended to seek proper training or guidance, especially for more advanced
welding techniques or critical applications. Additionally, always refer to the specific instructions provided by your welding equipment manufacturer and adhere to safety guidelines to ensure a safe and successful
welding experience at home.


 Close
Close


 Returns
 Help & Contact
 Shops
Shops


 Other sports


 Legal information